
Yes, I showed you this quilt in my last post… or wait! Did I? Actually that one was slightly different but if you thought it was the same one then I accomplished what I set out to do! I made that first quilt from the Checkered Garden Tutorial. I had a request for a custom order as similar to that one as possible. Although I had used up lots of the fabrics in the original, I decided to take on the challenge to make a similar one. I don’t usually do custom orders of this type, but I thoroughly enjoyed making this design. I’d be happy just making this quilt pattern for the rest of my life.

On the left hand is the original quilt, and on the right hand is the second one. I’m pleasantly surprised how similar they look while only sharing a few of the same fabrics.
This time while constructing the quilt, I did it differently than the tutorial. I feel like most quilters prefer to use any ‘shortcuts’ they can, which is why this tutorial is a great option. I find that the way my brain works, I prefer simpler construction even if it might include a couple more seams. For that reason, I reverted to cutting everything into 2.5 squares, EXCEPT for the corner units. For those, I cut a 2.5 x 4.5″ rectangle together with a square just to eliminate that one useless seam in the corner. So I sewed the center nine patch together, the corner units together, and the side units together and then assembled them all.
Does that make sense? I don’t have photos of it, but anyways I just found that simpler to work with than remembering which pieces went where. I’m curious if there’s any one else like me?

I’ll share one other trick that I feel is very important for this design. See that dominant row that goes all the way to the edge? In the blocks above it’s the dark brown in the one block and the white with little gold crescents in the other block. This row MUST alternate darker and lighter values with blocks that are next to each other. This makes them nest together nicely with less of a blocky look. If you study my whole quilt, every other block seems to have a larger diamond. But actually that’s because I did every other block with a dark main row and then the next one with a light main row.
Another way to make the whole thing flow and blend better is to make sure the corner colors are all light to medium values. This makes the ‘background’ blend together.
Well, that’s enough on that quilt!

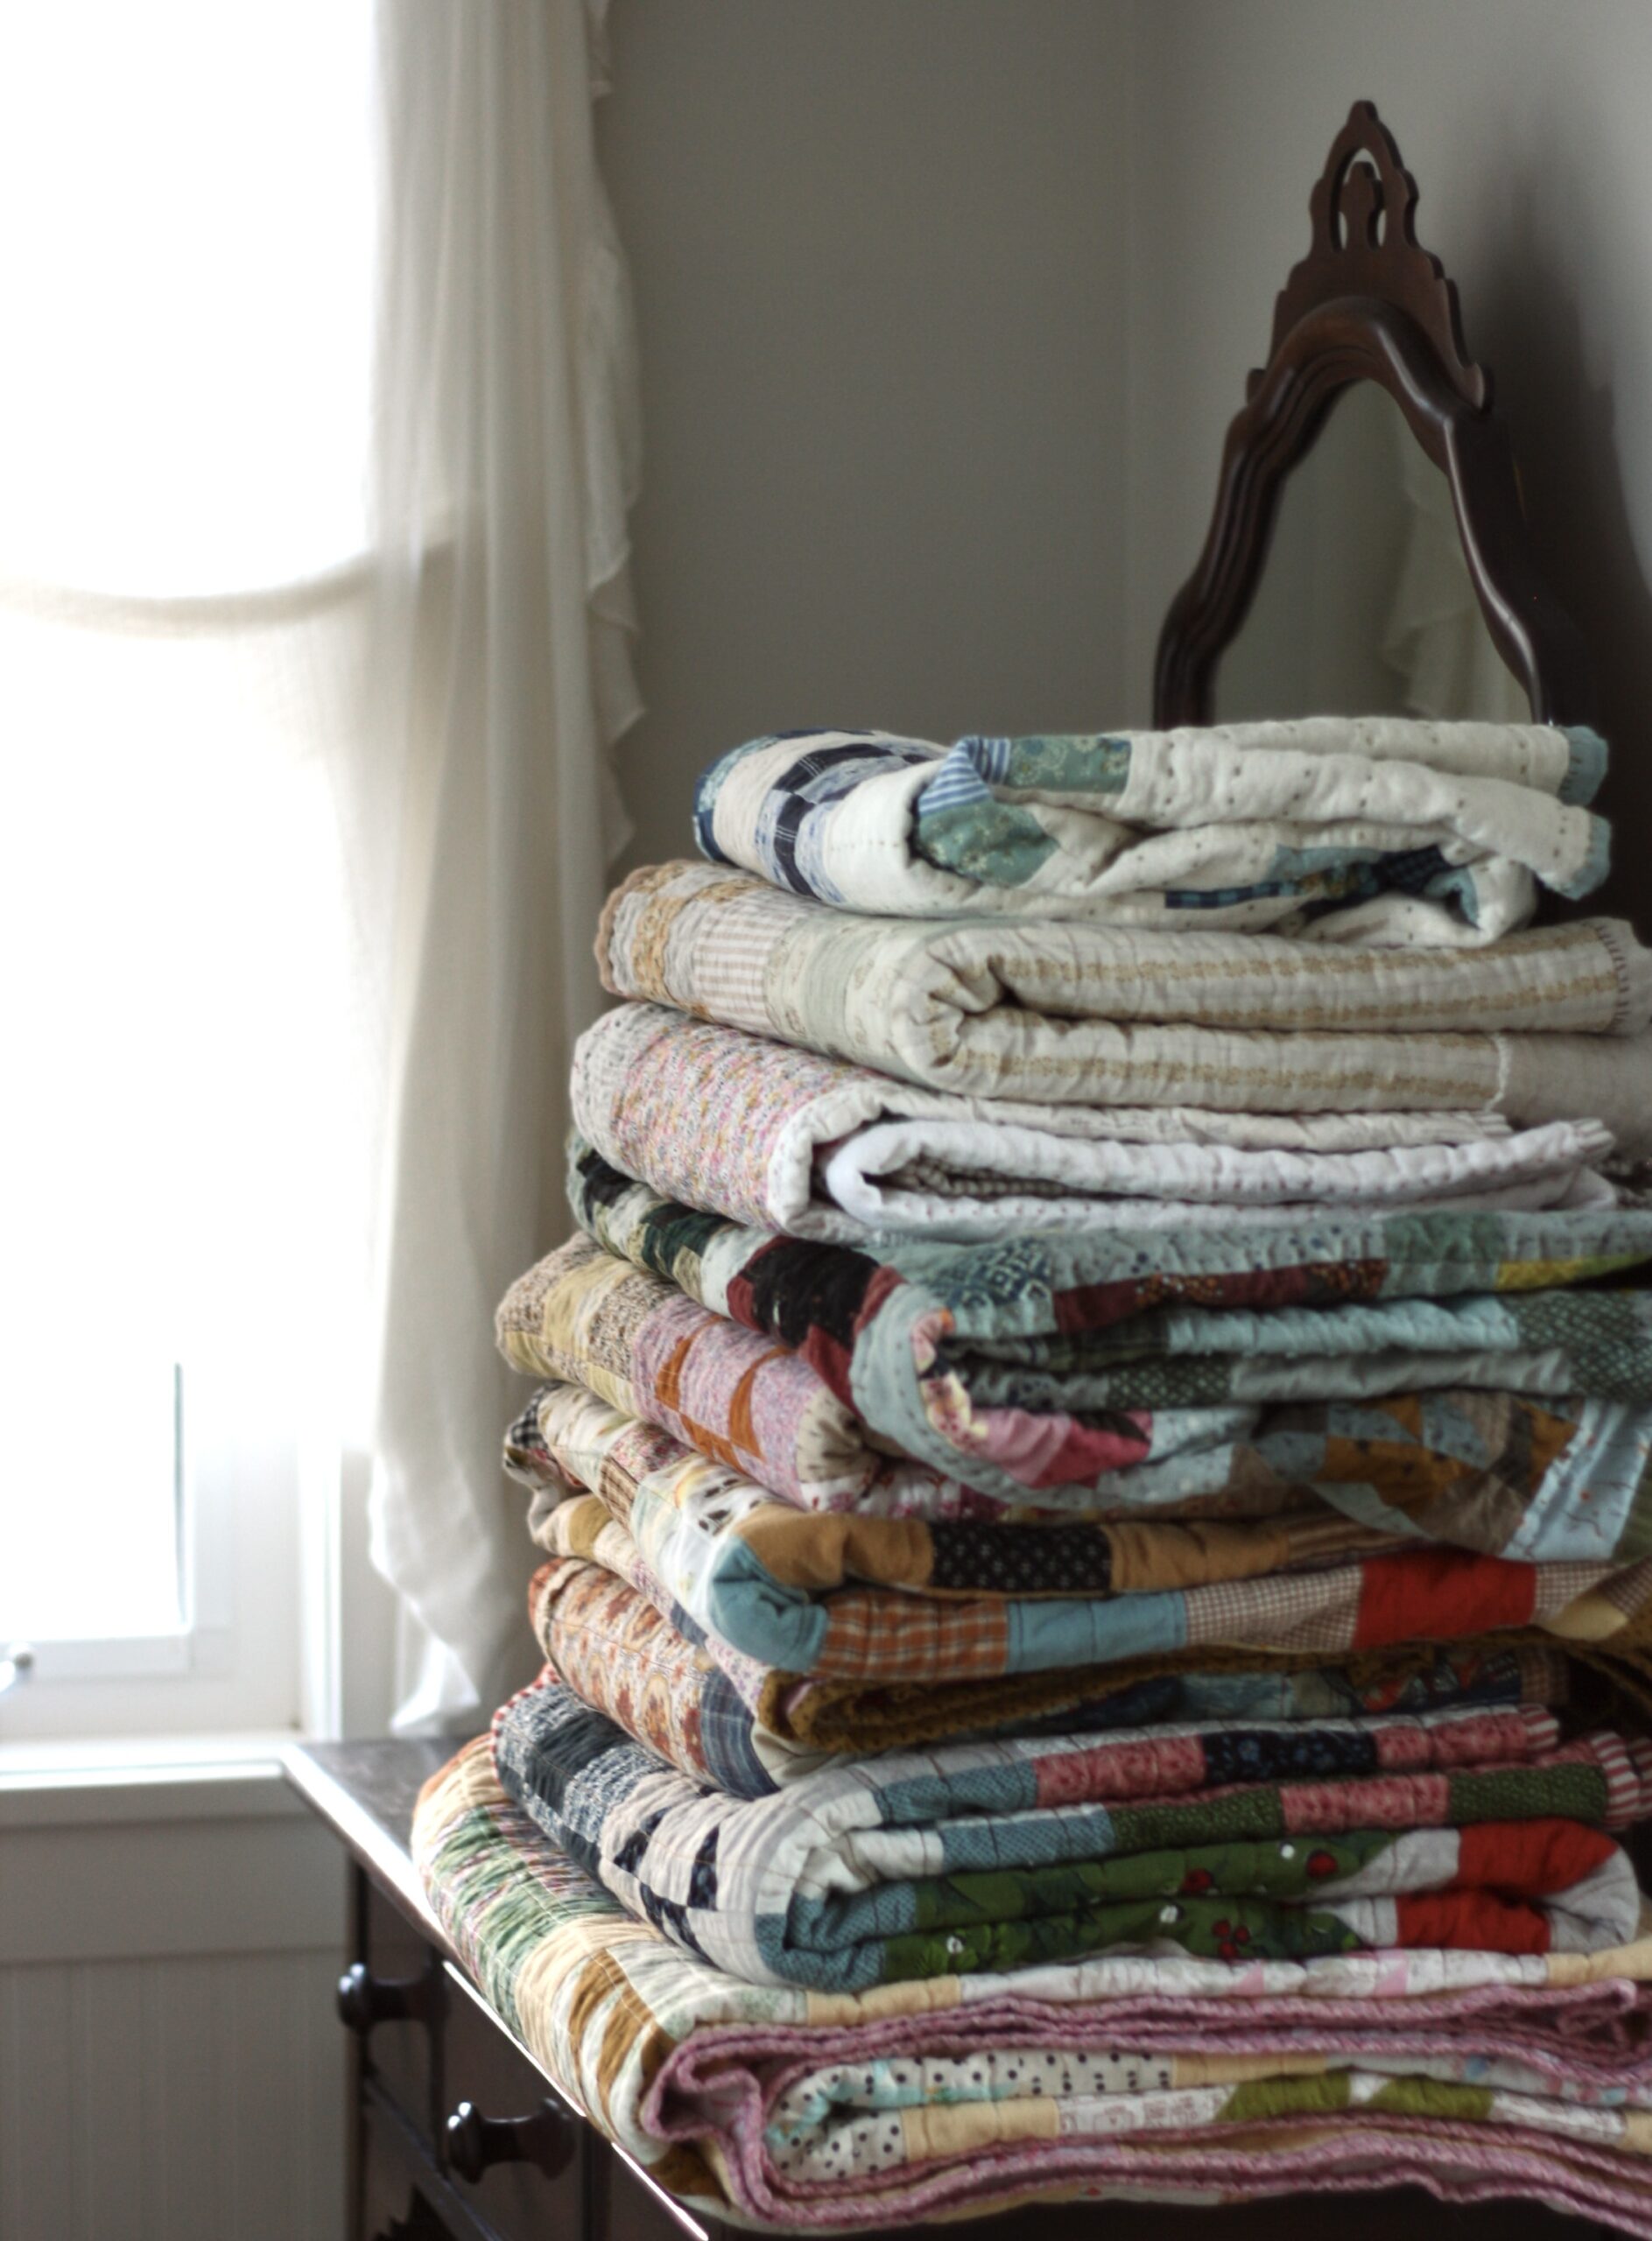
Here’s just one sneak peak photo of what I’m working on! My next book which will hopefully be ready before Christmas. If the creeks don’t rise and all that…
I was so excited to receive a bog post and even more excited for your new book, I love your designs and the way you use your fabric and colors. Your quilts always look so comfortable and cozy. I have made quite a few. Thank you.
Funny this came up in my feed. I just finished 36 blocks, I just couldn’t stop. Eighteen light, eighteen dark corners. Now to arrange the blocks. I am gifting it to my daughter for Christmas. I used all original now Ruby Star Society fabric with a constant fabric in the “C” round. Can’t wait to see it all put together!!!
It’s just gorgeous. Both of them!
oh I am so excited for the next book!! Your other books are like old friends that I love spending time with. Love your style and enjoying using your designs as inspiration.
Jo, beautiful work! I heard your voice the entire time I was reading this 😁
So glad to see a post from you! Can’t wait to get my hands on your new book!! I refer to both your other books often. Your house block in the Scrap Quilt book…I make one when I can’t get my head on about what to do next. It is a great reset! Then I sneak the house block into a project. Sometimes it’s the basket block from your tutorial. They are favorite blocks and appreciate you sharing them so much!